
Note: I’m using my old notes, my very basic tumbling log, relying on my memory plus I’m working backwards to capture my learning journey of getting started tumbling stones of New Zealand.
The Tumbler
Reported to be the best on the market, I finally have a rock tumbler! It’s a Lortone tumbler – the 4lb one which is apparently capable of doing nearly a 2kg load of stones. It came from David Burr, “The Rock Fella” in Motueka.
Provided with the tumbler were the mediums needed to polish several loads of stones. The mediums were: Coarse; Medium Grit; Fine 600g Grit, Pre-Polish and Polish (Tin Oxide). Apparently the Tin Oxide will do many loads if looked after, but I have no idea what that actually means. In the handy instruction booklet, each tumbling stage is explained, plus it says that it’s really important that the barrel and the stones be meticulously cleaned between loads. Without really knowing what I was doing, I dumped a load of various stones into the tumbler and followed the 1-5 steps outlined in the instruction booklet. Each stage recommends 7-10 days and I just did 7 days for each stage just out of shear curiosity/being impatient and enthusiastic!
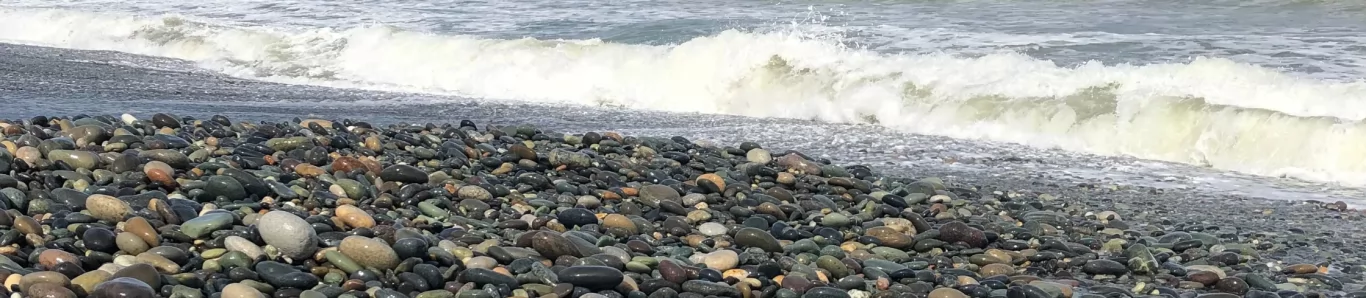
I did not even think to take any photographs, nor did I count the number of stones. I just grabbed a load of stones from our beach out front at Papatotara and started! Here’s what I did:
The Stages
Step 1: Coarse Grit. Filled the barrel 2/3 full of stones. Added 7 Tbspns of grit then slowly added water until the water level almost covered the top layer of stones. Sealed the barrel (don’t over-tighten the lid). Watched the barrel to make sure there were no leaks. After 7 days I used a sieve to pour the contents of the barrel out into a bucket so that I could thoroughly wash and clean the stones to remove all traces of the grit. Thoroughly washed and cleaned the tumbler too.
Very important – you can not wash the slurry down the sink as the abrasive particles and rock dust are heavy. It does NOT take very long for them to settle and clump together like concrete! Not good for plumbing! I tipped off the water/slurry onto a patch of grass we don’t use for anything and rinse the bucket several times to get all of the slurry out. If it does happen to “clump”, a good rinse and swirl with the hose helps to get it out of the bucket.
Step 2: Medium Grit. Tumbled stones for another 7 days. Same process as Step 1 just a less abrasive grit. Upon inspection the stones are smoothing out quite nicely.
Step 3: Fine Grit 600g. 7 days tumble – same process as Steps 1 and 2. Starting to see a bit of a shine.
Step 4: Tin Polish. Added plastic pellets to the stones to “cushion” them and help prevent scratching and pitting as the stones knock together. 7 days!
Reflection
I thought at the time that these stones turned out pretty good. They had a nice shine just like they did when they were wet, but now that shine was permanent! I think I’m going to like this tumbling business. Just need to work out what to do with all the stones I’ll be polishing!
Great start! Well written. Looking forward to more!